Welding Positions – The Basic Run Down
This post contains affiliate links.
There are tons of welding positions to consider when starting a project or testing out for a welding job. In this article we will go over the most common positions and when they are used.
Welding Positions
For standard welding procedures, positions are numbered 1-6, demonstrating their respective meanings. We will cover the number designations first and then get into the joint types.
Number Designations
The “1” position is a flat weld when your weld material is laying flat in front of you. Let’s say you throw a piece of scrap metal flat on your weld table for practice- this would be a position starting with the number 1.
The “2” position is a horizontal weld piece. Instead of your material being flat on your table, it would be roughly eye level and perpendicular to the floor, requiring raising your arms and often resting them on an object. You can run your weld from left to right or vice versa.
The “3” position is a vertical weld. The material is roughly eye level for the welder, but instead of running side to side you are welding vertically. Generally, this is done from the bottom to the top of the weld piece which is called uphill. In certain applications including pipe welding, the weld is run from the top to the bottom of the weld piece which is called downhill.
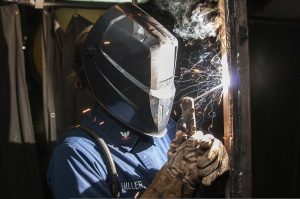
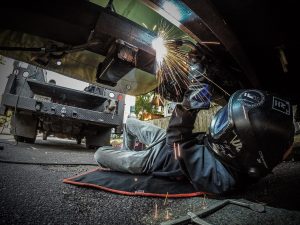
The “4” position is an overhead weld. This isn’t always above your head in a literal sense. It involves a weld fixture where the welder is looking up at their joint while they are welding. Even if your material is 2 inches above eye level, it would still be considered an overhead weld.
Number Designations (Pipe Welding)
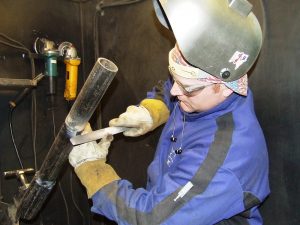
The “5” position is used in pipe welding. This is where the pipe is laying horizontally and level to the floor. The welder must complete a weld that spans from the top of the pipe to underneath the pipe on both sides.
The “6” position is also used in the pipe welding world. This is where the pipe is tacked at exactly 45 degrees, and you must complete full welds on both sides of the pipe. This requires left hand welding and right hand welding- ambidexterity is key to this position.
Now we we will go over the types of joints used in the main welding positions
Fillet Welds (F-Joints)
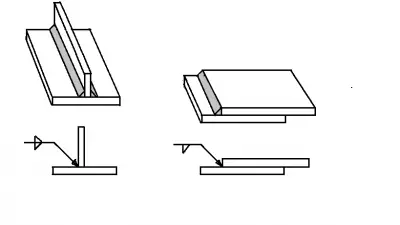
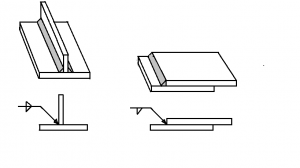
F-joint (Fillet Weld) 1F, 2F, 3F, 4F, 5F (pipe)
A fillet weld is when two pieces of material are welded together at a 90 degree junction. A T-joint is most common, but the joint may be less than 90 degrees or more. Fillet welds generally result in a flatter weld bead as the filler rod is hitting both walls of the pieces evenly. Fillet welds and T joints are a great way to practice your beads. Lap joints can also be great practice (one piece of steel laying on top of the other). If a company has you run a weld test with a couple of fillet welds, it is usually way more casual than an AWS plate test with a groove weld.
Groove Welds (G-Joints)
Groove (1G, 2G, 3G, 4G, 5G (pipe), 6G (pipe)
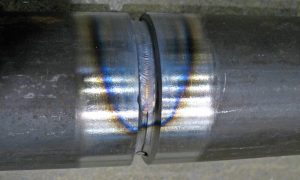
A groove weld is when you weld together two pieces of material at a tighter angle. You are filling up a deeper groove with these joints. This is standard on many plate tests – Example: Two 3/8″ thick plates of steel will be beveled at 37.5 degrees, and the resulting weld will fill this groove when the plates are tacked together. This is also how pipe joints are configured for the 5G and 6G positions in testing (and in the field). Keep in mind that the American Welding Society has hundreds of different procedures for groove welds -involving different bevel angles, landings, weld processes and material.
Conclusion
Each groove test can be ran with MIG , TIG or Stick depending on the procedure required by the company hiring. Welding schools will have students run many practice plate tests and/or pipe tests before they test out for jobs in the welding industry.
Thanks for reading!

