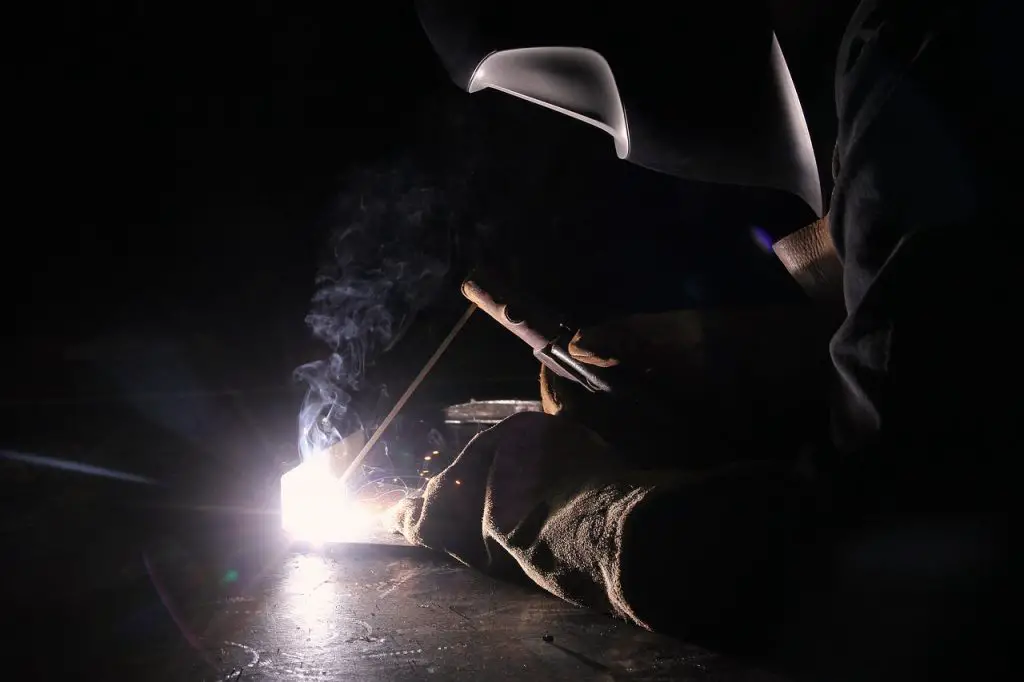
Stick Welding Mistakes – Common Errors
This post contains affiliate links.
Though stick welding is one of the oldest, simplest welding processes, it is very hard to master. Simple in theory, stick welding still requires lots of practice and coordination to achieve satisfactory welds.
Many beginners will get frustrated with stick welding and go back to MIG. It is hard to lay a nice bead until you get lots of hood time under your belt. “Hood time” just means the time you spend actually welding. This is why welding schools want students to be welding as often as possible – more hood time equals better results.
This article will cover the most common stick welding problems that new welders face. These mistakes are usually easily corrected, but it helps to have a seasoned welder point them out to you. It is often hard for new stick welders to figure out what they are doing wrong.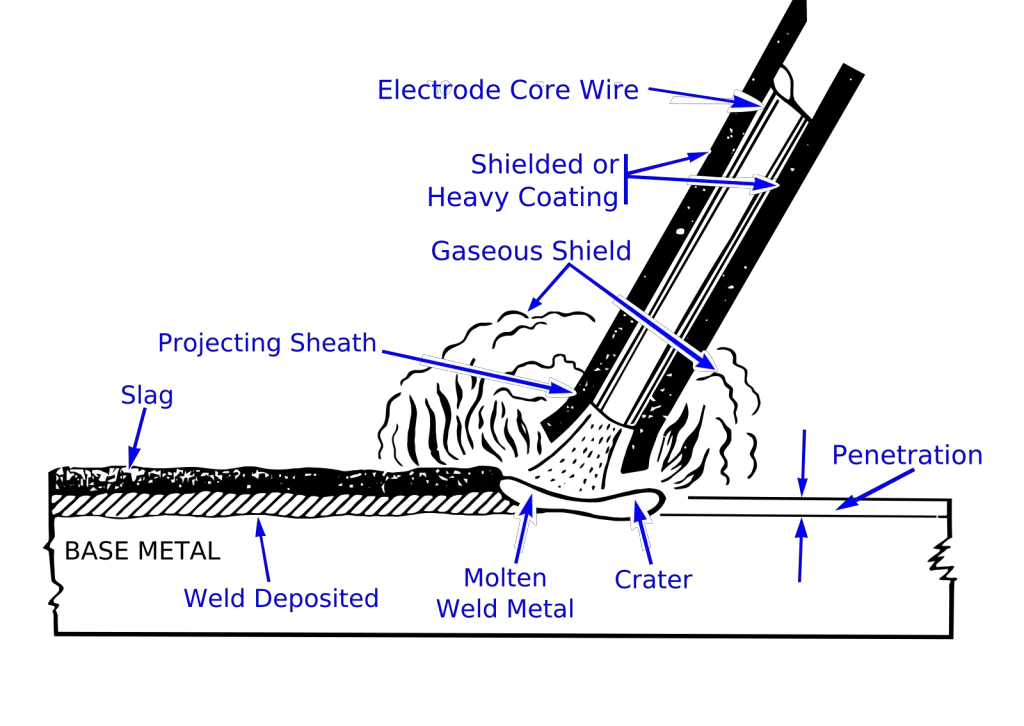
Although MIG and TIG welding have gained huge popularity, stick welding is an essential skill to have. If you are applying for a shop welding position, not being able to stick weld will knock your resume down a few notches.
One nice thing about stick welding is that it is cheaper than other processes. Once you have your machine and leads setup, all you need is some scrap steel and some electrodes. No need for gas cylinders or refills! Since the flux coating on the electrode produces its own shielding atmosphere, external gas is not necessary.
Rod Keeps Sticking To The Steel
One of the hardest things that beginners face is actually getting their arc started. If not performed correctly, the stick electrode will stick to the steel and start to burn up. When this happens, it is important to unclamp your stinger and remove the electrode from the work piece by hand.
If you keep your stinger attached, the rod will overheat and will turn a bright orange color since there is still amperage running into your metal.
One of the easiest fixes for this is to turn your amperage up. Inadequate amperage almost always results in the rod sticking to your steel. Since there isn’t enough heat flowing, the electrode simply fuses to the steel. Try to turn your amperage up by 5-10 amps and see if that helps (it almost always does!).
Referring to an amperage chart is a great way to set your amps based on your material thickness.
Another fix for this problem is to practice your arc strikes. A stick welding arc start is very similar to striking a match. Once you slide the electrode on your steel, return to your original position and hold a tight arc. By holding a tight arc, your rod is almost touching the steel – which creates a higher penetration weld.
No matter which position you are welding in, keeping a tight arc will ensure a satisfactory weld.
Practicing arc strikes will allow you to weld more consistently without sticking the rod to the metal. This makes for a more enjoyable work day.
Long Arcing
If you hold your electrode too far away from the puddle, a violent arc is created – which can seriously reduce the strength of your weld.
When long arcing happens, the filler metal cannot properly fuse with your work piece. This creates lots of spatter and makes for a poor looking weld.
Since the electrode is constantly getting shorter as your welding, beginners often forget to keep a tight arc throughout the course of their weld. It is important to be aware of the rod getting shorter, so you can continue to keep a close distance between your rod and your steel.
Long arcing can also cause porosity in your welds. Porosity is defined as small holes in the weld, and is one of the worst defects to have. If you see a weld that has porosity, chances are that it is a very weak weld.
Practicing holding a tight arc will benefit you not only with stick welding, but with MIG and TIG as well. It ensures that you are getting maximum penetration with each weld.
Penetration is defined as how deep your weld goes into the material. Using cut and etch tests, welders can see if their penetration is adequate or too shallow. Shallow penetration makes the chances of cracking much more likely.
Larger stick electrodes that require high amperages often produce higher penetration welds. Smaller electrodes tend to have a shallower penetration weld.
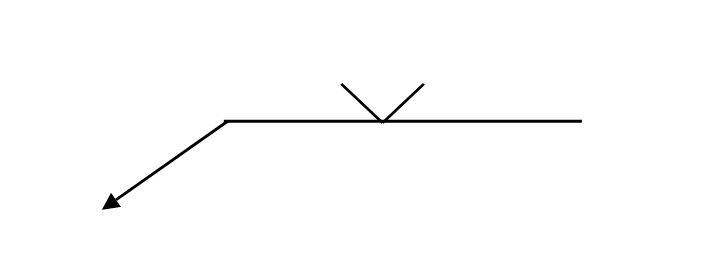
Pushing Instead Of Dragging
Since stick welds produce slag, it is important that you drag the rod. This is because pushing the rod can result in the slag being “trapped” inside of the actual weld. These “slag inclusions” are a serious defect and will result in a failed welding test. They will show up on x ray tests, and will often cause cracking to happen on bend tests.
Slag is produced by the flux coating of the electrode. Since there is no shielding gas involved, the atmosphere produced by the flux coating will cause slag to form at the top of the weld. For processes like hardwire MIG where an external gas cylinder is used, no slag is produced.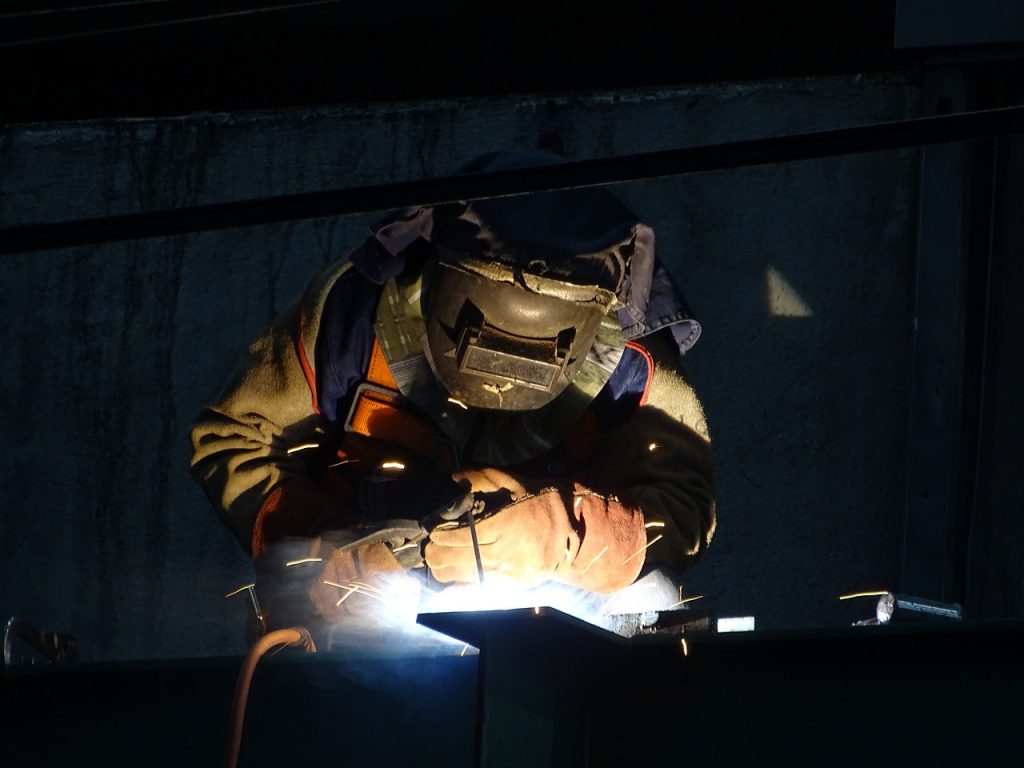
Cleaning slag is super easy. You can either use a hand held wire brush, or you can use a wire wheel attached to an angle grinder. Beware that the slag is very hot once the weld is completed. It is best to let it cool down for a few minutes.
By dragging the stick electrode, this allows the slag to form at back of the puddle. This means that the slag hardens only on the top of the weld, and will result in a nice shiny bead underneath.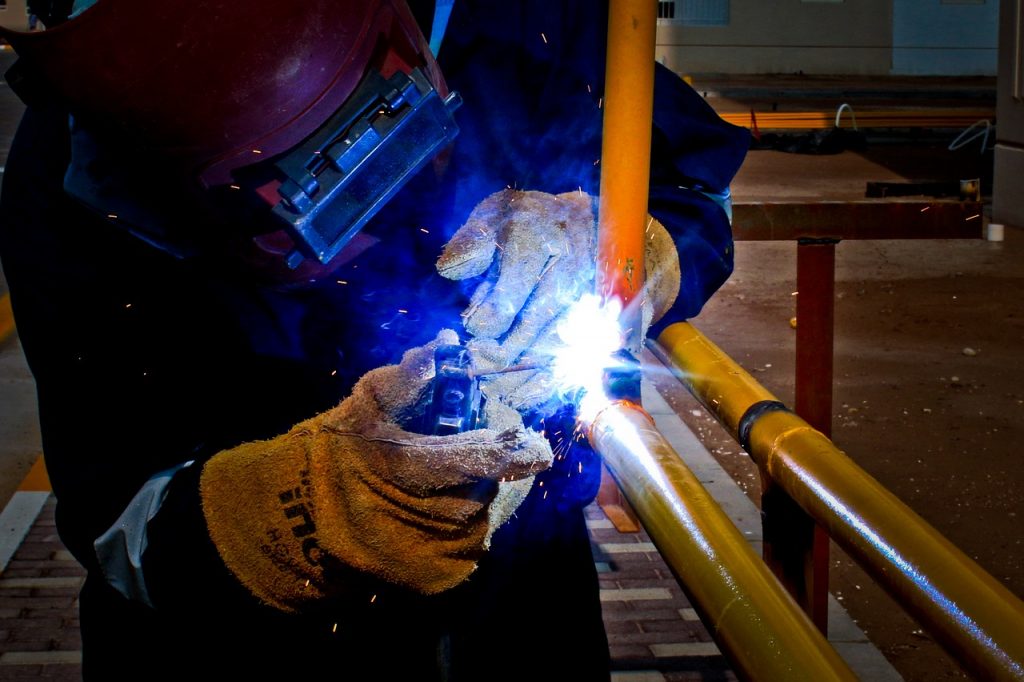
This rule also applies for other processes that produce slag. For dual shield MIG welding, dragging the puddle tends to work the best. Although some folks push the puddle, it can result in the weld defects mentioned above.
To play it safe, it is best to go by the old saying – “If it produces slag, you gotta drag.”
Trouble With Restarts
Restarting stick electrodes can be tricky. Let’s say you have burned half of the rod and you need to restart it for the next weld – seems easy, right? The problem is that a shiny slag coating is formed on the tip of the electrode. This makes it hard to restart the weld since the filler metal is covered.
Having a file handy can help a lot with your stick welding restarts. If you file your electrode tip, this will expose the filler metal which makes restarts much easier.
With this being said, it is usually easier to burn the entire electrode when possible. For longer beads, this works out really well.
If you’re burning shorter beads and you need to restart the arc quite often, then you’ll have to practice filing the rod down and restarting when necessary.
With a MIG machine, you can just pull the trigger and start welding. This makes it easier for beginners to perform multiple welds in different areas.
Although it takes some practice to restart your stick electrodes, it becomes second nature after awhile. 6010 rods restart much easier since there is less of a coating on the electrode. 7018 rods and other low hydrogen rods will require a file if you want to restart them. You can also drag them on the concrete or a rough surface if you don’t have a file available.
Since welding rods are expensive nowadays, it is best practice to burn the rod all the way to the end. If you are throwing away half used electrodes, this can cut into your costs quite a bit.
Shaky Hands
Since stick welding rods are usually 14 inches long, having shaky hands can compromise your weld. These hand movements are magnified when the rod is longer, but they are easier to control as the rod burns down and gets shorter.
If you struggle with shaky hands, you can use your non dominant hand to prop the rod further up. This allows you manipulate your puddle better since there is less play in the rod.
Although this is a good technique, you want to make sure your electrode doesn’t get too hot. If you are propping it with your other hand, the heat can quickly heat up your glove. This is especially true for larger electrodes such as 5/32″ rods.
The video below shows how this propping technique can be used for tacking up a project. TFS shows that by choking up on the electrode, you have much more control and you can be more precise.
This propping technique is usually best for beginners, but as you improve you’ll be able to weld without propping. Expert stick welders can usually perform most beads while holding the stinger with one hand.
Starting off with the propping technique can be really beneficial for shaky hands. However, stick welding with one hand is the ultimate goal. You don’t want to rely on the propping technique too much.

Getting stable with one hand welding will put you at a great advantage. Although you don’t have to have surgeons hands, it really helps to practice your dexterity whenever possible. If you struggle from shaky hands, welding may be extremely tough to learn. Avoiding caffeine can really help if you struggle from shaky hands.
I tend to skip the coffee on the days I have a welding test. It helps me out a lot.
Travel Speed
This is defined as how fast you are moving your puddle. Using too fast of a travel speed and your puddle will be weak, too thin and ugly looking. If you don’t allow the puddle to fuse the metals, it will result in a really shallow weld.
Too slow of a travel speed will mean your bead is too wide, too tall, and you can blow through thin material since you aren’t moving fast enough.
Perfecting your travel speed takes time, and it varies depending on the material you are welding.
For using thick electrodes on thick steel, a slower speed is best so you can burn into the steel for maximum penetration. For thinner steels, a faster speed is best so you can get a good bead without burning a hole through the material.
Whatever your travel speed is, it is best to maintain it throughout the weld. If you speed up and then slow down, the weld will be wider in some places and narrower in others.
To achieve a consistent bead without defects, maintaining travel speed is a must. Work your way along and relax – by keeping your speed the same you will ensure a more continuous weld. As you practice this, you will notice that your stick welds maintain the same width and profile.
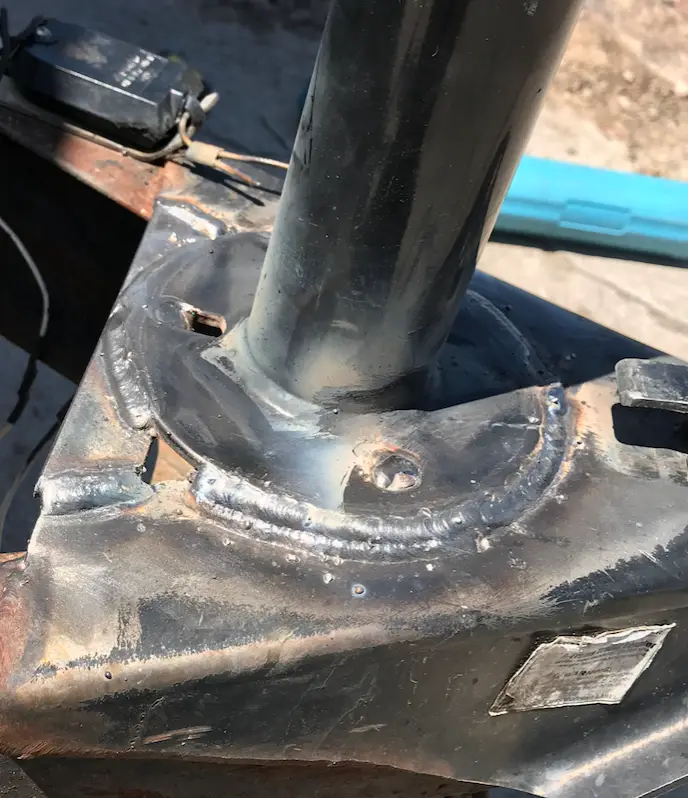
Travel speed becomes especially important for stacking beads on a fillet joint. If you are welding multiple beads and you want to stack them evenly, travel speed is a must. Once you know how wide your beads are going to be, it is easy to stack them neatly on top of each other in a sequence.
This comes in handy for heavy structural joints. Often times, one bead isn’t enough. If you know how to stack your stick beads on top of each other, you’ll have a good skill that is tough to master. If you overlap the beads about 50%-60%, you can achieve a weld sequence like the photo shown above.
Featured image credit : Pixabay